 Skip to content
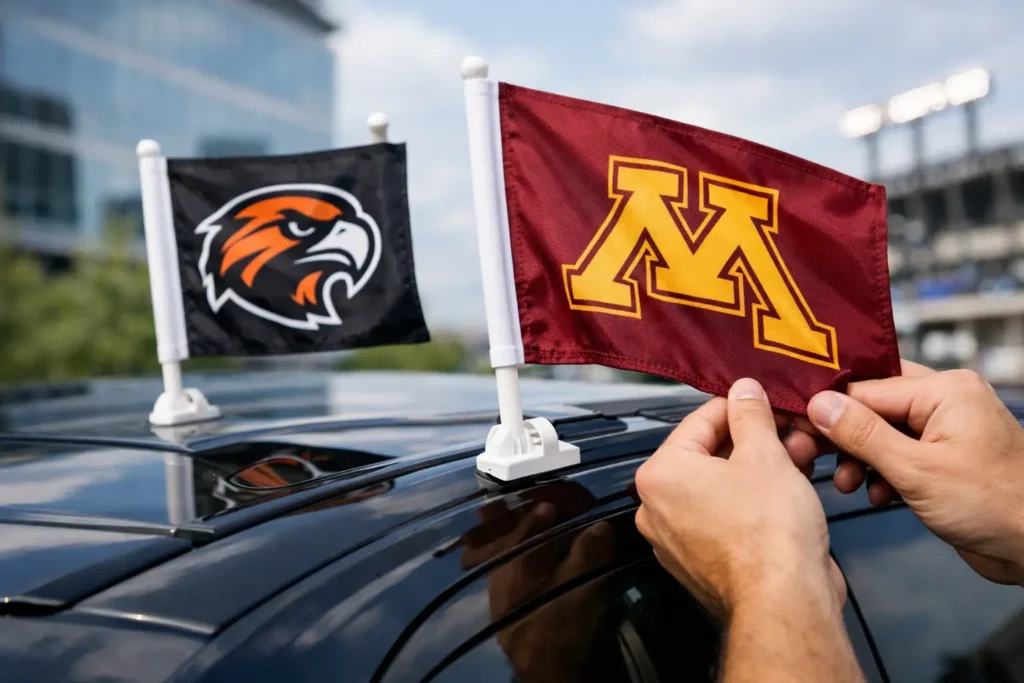
A vehicle flag can turn one car, truck, or dealership lot into a moving message. But a loose bracket, an oversized flag, or a rushed installation can turn that visibility into a distraction. Knowing how to install vehicle flags correctly helps your organization get noticed while keeping the flag, vehicle, and people around it protected.
For parades, school spirit days, fundraising drives, political campaigns, team travel, and local promotions, the best installation begins with matching the flag and mount to the vehicle and the way it will be used. A flag displayed at a parked event has different demands than one traveling at road speed. Start with the right hardware, take a few minutes to secure it properly, and inspect it before every trip.
Choose the right vehicle flag mount first
Most vehicle flags are designed for one of a few common mounting locations: the side window, antenna, hood or trunk edge, trailer hitch, or a specialized pole mount. The right choice depends on your vehicle, the size of the flag, local rules, and whether the vehicle will be parked or moving.
A window-mounted car flag is a popular option for sedans, SUVs, and pickup trucks. Its bracket usually slides over the top edge of a partially lowered window. When the window is raised, the pressure of the glass holds the bracket in place. This creates a clean, temporary display without drilling into the vehicle.
Antenna flags are smaller and lighter. They work well for quick identification at a tournament, rally, dealership event, or group drive, but they are not meant to carry a large fabric flag in strong wind. Hitch-mounted poles can provide a bold, high-visibility display for parked trucks and tailgating areas, though they need extra attention around driveways, low branches, and overhead clearance.
Before ordering flags for a campaign or event, decide whether they will be used on moving vehicles, stationary vehicles, or both. Custom Flags are our specialty, and the most effective flag setup starts with that practical distinction.
How to install vehicle flags on a car window
A window bracket is straightforward to use, but it only works well when the window and hardware are clean, correctly positioned, and fully secured. Follow these steps before heading out.
1. Inspect the flag, pole, and bracket
Lay out the flag assembly before bringing it to the vehicle. Check that the pole is straight, the bracket has no cracks, and the flag sleeve or grommets are firmly stitched. Make sure the flag is attached to the pole according to its design. A sleeve flag should slide fully onto the pole, while a grommeted flag should be clipped at each attachment point so it cannot bunch up or slip downward.
If the flag has been stored folded, shake it out and look for tangled fabric or twisted clips. A clean setup lets the flag fly clearly and reduces unnecessary strain on the pole.
2. Clean the top edge of the window
Wipe the upper edge of the glass and the part of the door frame where the bracket will sit. Dirt, sand, and moisture can interfere with a secure fit and may scratch surfaces as the bracket moves. A dry microfiber cloth is usually enough for a quick check.
Do not force a bracket onto a window with damaged trim or into a position where it pinches weather stripping. If the fit does not feel right, stop and check the mount style rather than trying to make it work.
3. Lower the window partway
Lower the chosen side window several inches. Position the bracket so the flagpole stands outside the vehicle and the bracket rests evenly over the top of the glass. Keep the pole clear of the door frame, mirror, and window path.
For most installations, the rear passenger window is the best location. It keeps the flag away from the driver’s immediate view and allows the front door to open normally. Avoid mounting a large flag on the driver-side front window, where it can create a blind spot or interfere with mirror visibility.
4. Raise the window completely
Once the bracket is in place, raise the window all the way. The glass should close firmly against the bracket without struggling, tilting, or leaving a noticeable gap. Do not slam the window upward. Hold the bracket steady while the glass rises so it stays square.
With the window closed, gently pull the pole outward and side to side. It should feel stable, not loose or wobbly. If it shifts, lower the window and reposition the bracket before trying again.
5. Check clearance and visibility
Step back and look at the installation from the front, side, and rear of the vehicle. Confirm that the flag does not cover headlights, taillights, license plates, turn signals, cameras, or mirrors. The pole should not extend into another lane or hang so low that it could strike curbs, pedestrians, or parked vehicles.
Then sit in the driver’s seat. Check your mirrors and look over both shoulders. If the flag blocks any part of your safe driving view, move it to a different location or choose a smaller display.
Secure the flag for the conditions
Wind is the real test of a vehicle flag installation. Even a light flag creates force when a vehicle moves, and gusts can be much stronger than expected on open roads, bridges, or highways. The larger the flag, the more load it places on the pole and mount.
For moving vehicles, use a flag and pole specifically made for vehicle use. Avoid improvising with a large outdoor flag, a wooden dowel, or a decorative pole that was designed for indoor display. Those options may look workable while parked but can bend, loosen, or fail once the vehicle is in motion.
The installation also depends on speed. A small car flag may be appropriate for a neighborhood parade or a slow promotional procession, while extended highway travel may call for removing the flag altogether. Follow the flag hardware instructions and check applicable state and local requirements before driving. Rules can vary on flag size, placement, visibility, and whether an object may extend beyond the body of the vehicle.
If conditions are windy, rainy, or icy, be more conservative. Wet fabric becomes heavier, and high wind can whip a pole hard enough to damage the mount or vehicle. Take the flag down if it begins snapping excessively, sagging, or pulling the bracket out of position.
Avoid common vehicle flag installation mistakes
The most common issue is treating a car flag like a permanent accessory. Vehicle flag mounts are often made for temporary promotional use, parades, game days, and events. Leaving one on for weeks exposes it to weather, road grime, car washes, and repeated wind stress that can shorten its life.
Another mistake is installing the flag without considering the door and window operation. Never mount hardware where it may interfere with a side airbag area, prevent a door from closing, or trap fingers when the window rises. Keep children away from power window controls while you install the bracket.
Also avoid driving through automatic car washes with the flag or pole attached. Remove the full assembly first. Brushes and high-pressure water can bend the pole, tear the fabric, or pull the bracket loose.
Finally, do not assume one mount fits every vehicle. Thick window trim, unusual glass angles, frameless windows, and certain aftermarket accessories can change how a bracket sits. Test-fit one unit before ordering a large quantity for a fleet, dealership promotion, school caravan, or campaign rollout.
Care for vehicle flags between events
A well-made custom vehicle flag can support repeated events when it is handled properly. After use, remove it rather than leaving it exposed overnight. Let damp fabric air-dry fully before folding it. Storing a wet flag can lead to wrinkles, color transfer, mildew, and premature fabric wear.
Wipe dirt from the pole and bracket, especially after driving in rain or near salted roads. Check clips, sleeves, screws, and the bracket connection each time you reinstall the flag. If the pole is bent or the hardware is cracked, replace it before the next event instead of hoping it holds.
For organizations using many flags, assign one person to inspect the hardware before distribution. A quick setup check protects your investment and helps every vehicle present a consistent, professional message.
Make the flag work as hard as the vehicle
Installation is only part of the result. Your design needs to read quickly from a sidewalk, parking lot, or passing lane. Keep logos large, use high-contrast colors, and avoid filling a small car flag with too much copy. A short campaign phrase, team mark, event name, or bold logo usually performs better than fine details that disappear in motion.
If you need a coordinated set for vehicles, tents, tables, and event signage, plan the display as one visual system. The same logo and colors across car flags, feather flags, banners, and table covers make an activation feel organized before anyone reaches the booth or event entrance.
A secure, well-positioned flag does more than decorate a vehicle. It gives your team a visible point of pride and gives your audience a message they can recognize at a glance. When you are ready to create a custom vehicle flag program, bring your vehicle type, display goals, and artwork questions to The Flag Makers so the finished setup is built for the way you plan to use it.